Text Version
In this tutorial we will be using cPanel's built in file manager. This is a true fully-featured file manager.
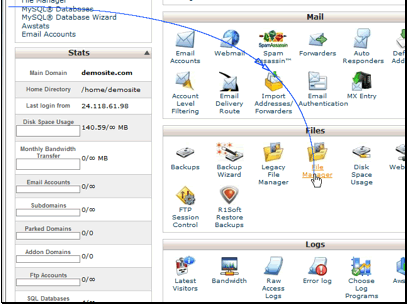
Begin by clicking the File Manager button
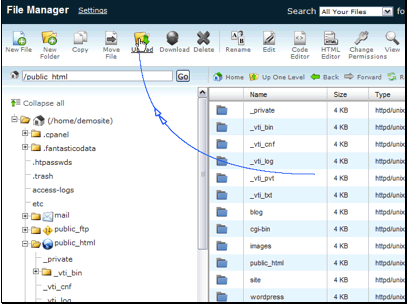
This is the File Manager interface. Along the top are the tool buttons. Along the left is a tree view of all folders in your account. Along the right is the view of the files/folders in the directory you're currently browsing.
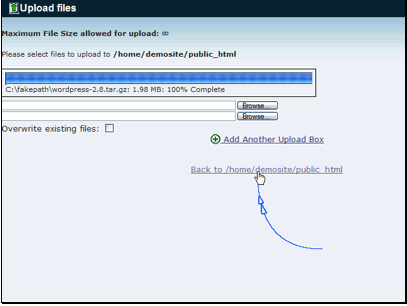
The first thing we'll do is upload a file. Click the Upload button.
Browse to the file on your computer.

Select the file and click Open.

cPanel will show you the progress through your upload. When it's complete go back to your previous folder.
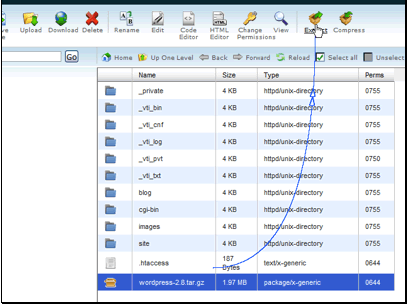
Since we've uploaded a compressed file we will need to extract it to get to the files. Select the file by clicking it.

Then click the Extract button.
Confirm where you want to extract it to.

This will confirm the files/folders that were extracted. Click the Close button.

Now we want to go into the wordpress folder that was just created. To navigate into a folder we just need to double click on it.

Install and manage over 400 scripts with 1 click, get started for $1
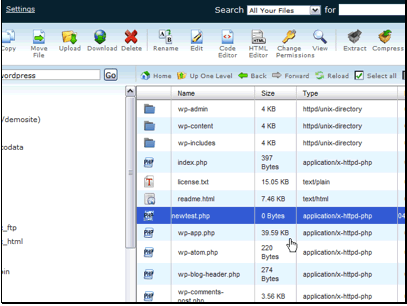
Now that we're in the new folder let's create a new file. This same method can be used to create a new folder as well.
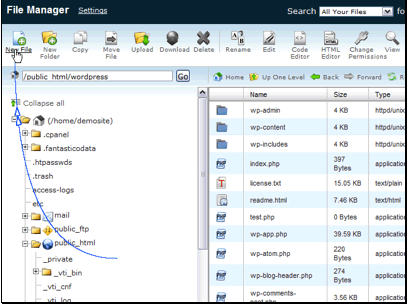
Enter the name for the file and click Create New File.

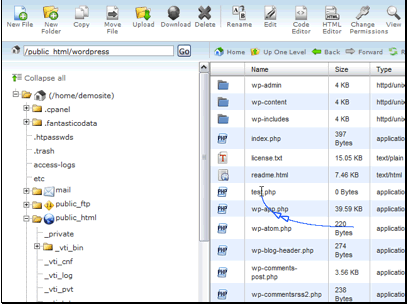
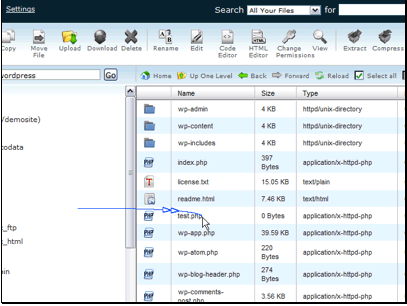
Our file has been created. If we want to edit the file we need to click it to select it.
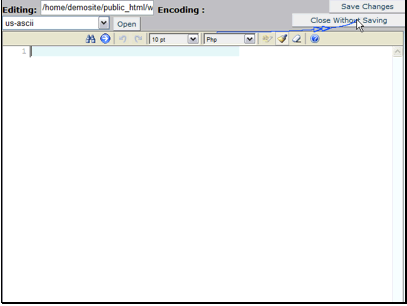
cPanel comes with 3 different file editors. The Code Editor and HTML Editor have code highlighting functions to make it easier to read the code.

This is the interface of the Code Editor. If you write PHP your code will be highlighted.
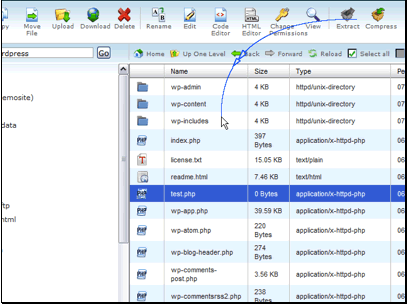
The file manager also includes a function to compress files/folders. This is a great way to be able to move or backup a large number of files on your site. Click and drag to select the files/folders you want to compress.
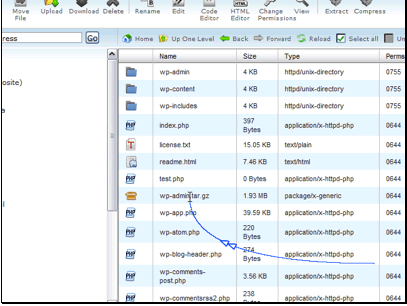
The folders we want to compress have been selected. Now we just need to click the Compress button.

Select the type of compression you'd like to use and click Compress File(s). If you're on a Linux server Tar Archive or GZiped Tar Archive are probably what you want to choose. If you're on a Windows server you'll want to go with a Zip Archive.

This screen will confirm everything that's been compressed. When it's done you'll want to click Close.

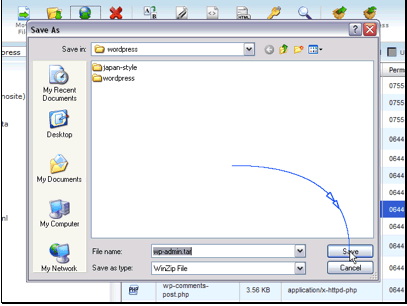
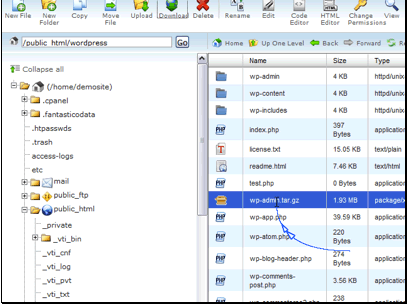
Now we can download this archive to keep a copy on our home PC. Selct the file.
Then click the Download button.

Click Save.

Then choose a download location and click Save.
Our file has been downloaded for safe keeping.
We can also move files to other directories easily. Select the file and drag it to the folder you want to move it to.
The file has now been moved to the public_html directory.
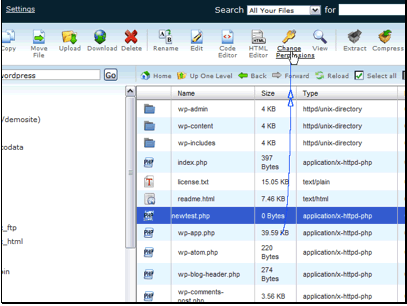
We can also rename files. Select the file you want to rename.
Then click the Rename button.

Enter your new name and click the Rename File button.

The file has been renamed.
We can also change the permissions to make the file more secure.
Let's remove User Write permissions from the file.

You should now have a good grasp of all of the functions in the cPanel File Manager. It can make managing your site and files much easier.