Joomla is a very easy script to install. This tutorial will walk you through the installation.
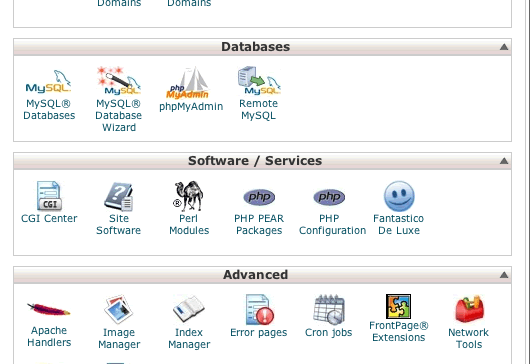
At this point you should have uploaded all Joomla files to your webspace and logged in to cPanel. The first thing we need to do is create a database. Click on the MySQL Database Wizard button.
Give your database a name.

Create a database user.
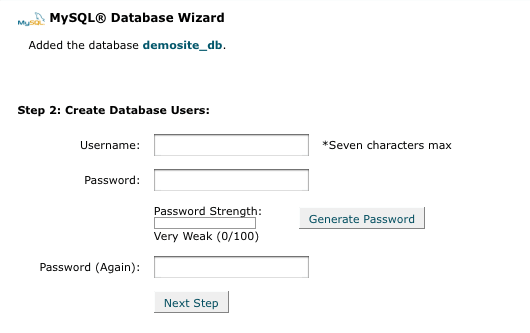
Give your database user "ALL PRIVILEGES".

Your database has been created. The next step is uploading Joomla.

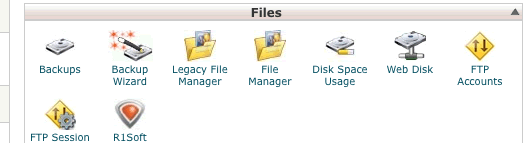
You need to go to the cPanel home page and click on the File Manager icon.
Then click on the Upload button.

Browse to the file on your computer.

Select the file to upload.

Then go back to your file manager.

Select the package and click the Extract button.

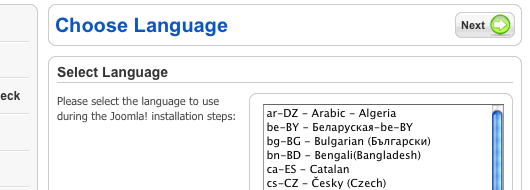
Now we need to go to the Joomla installer. It\'s at www.yoursite.com/installation.

Confirm the languange you\'d like to install in.
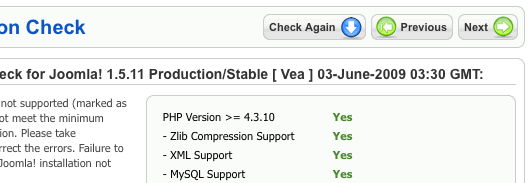
If there are any errors on this page you will want to fix them. The "Recommended Settings" can be different and Joomla will still work.
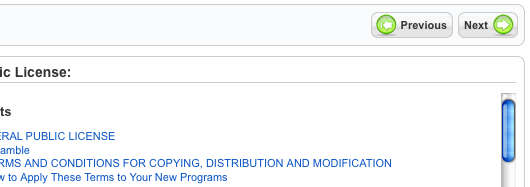
Joomla is released under the GPL license. You will need to accept this to continue the installation.
Enter the database information you created earlier.

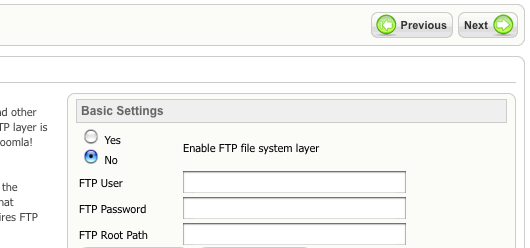
< class="step"p>The FTP layer generally only needs to be enabled if safe_mode is on. By default it should be disabled.
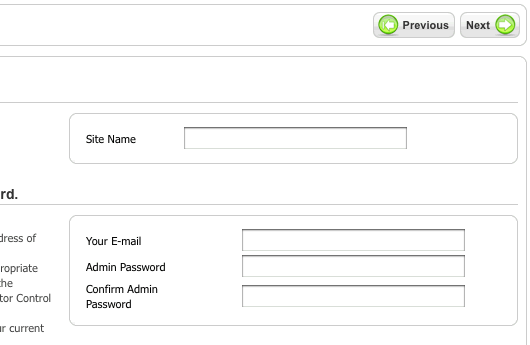
Enter the main information for your site. This includes your administrator login information, so be sure to remember it.
All you need to do is delete the installation folder and the install is complete.

Select the installation folder and click the delete button. You can now use your Joomla site.
