Text Version
In this tutorial we will be using the JCE image manager. This is a fully featured image manager that is fairly powerful.
At this point we are already in an article. Begin by clicking the Image Manager button.

Let's choose an image to insert into article.
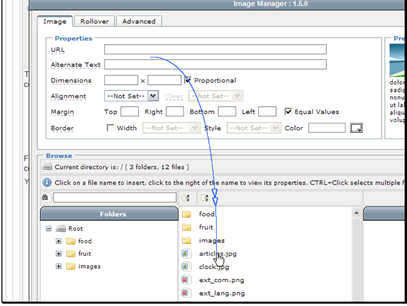
There are several options for images. Let's click the Insert File button.
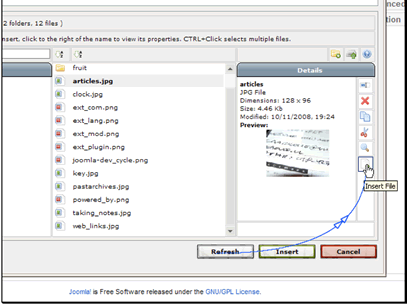
Then click the Insert button.

The image has now been inserted into our article.
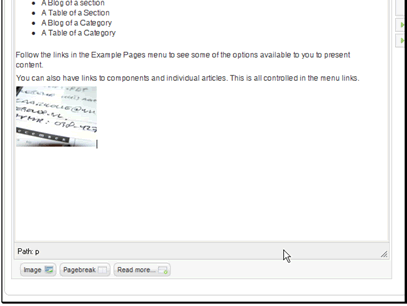
There are many other things we can do with the image manager. Let's go back into it.
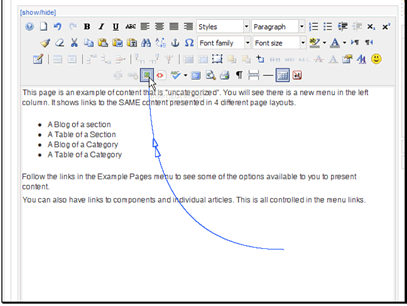
First, let's create a new folder.

Enter a name for the folder and click the OK button.

Then let's upload a new image.

Let's browse to a file on our computer.

Select the file you want to upload and click the Open button.

Then click the Upload button.
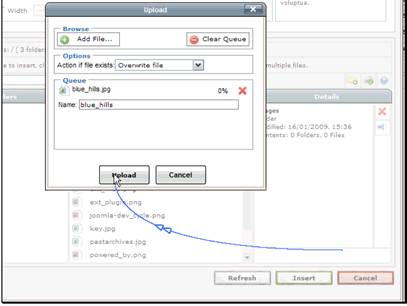
The file has been uploaded. Let's close the upload box.

Let's select the new file and see what else we can do with it.

We can rename it.

Let's see what else we can do.

Let's delete the image.

Once an image has been inserted, there are also things we can edit. Select the image and click the Image Manager button.

Let's add a border to the image.

Then click the Update button to apply the changes.

The border has been added to the image.

