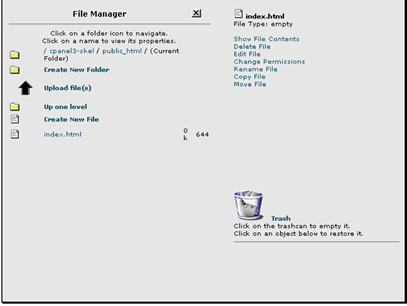
Text Version
In this tutorial we will be looking at the skeleton directory. The skeleton directory lets you create files that will be automatically uploaded to any new account you create
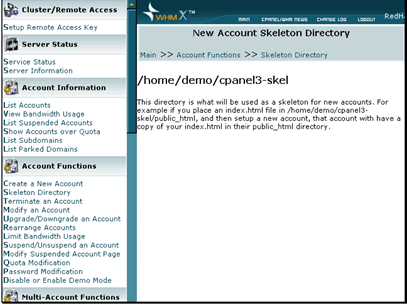
Click the Skeleton Directory link

This screen will tell you where you need to upload the files to. Log in to cPanel to add the file.
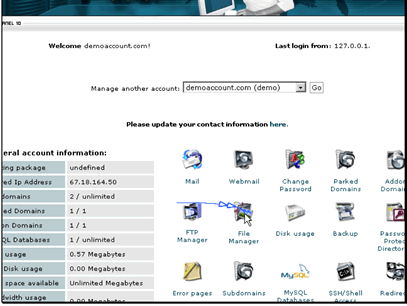
Click on the File Manager button.
BuyHTTP is the perfect place to host your wiki site
Navigate to your skeleton directory.
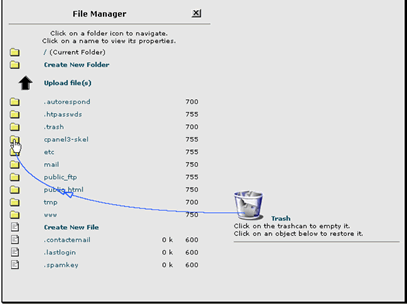
You want the new files to be created in the public_html directory.

Create a new file.

Enter the name for the file and click Create.

Edit your file to add a message.
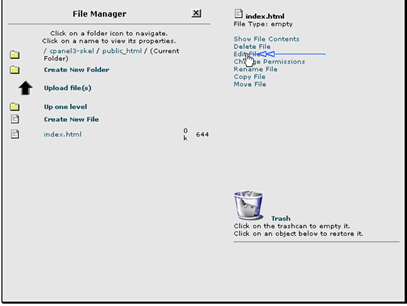
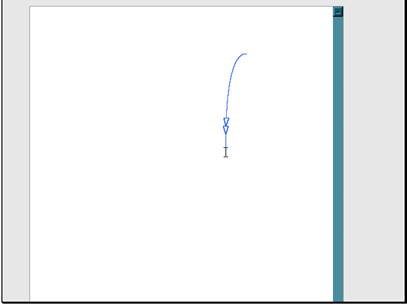
Enter some text for your file.
Click Save.
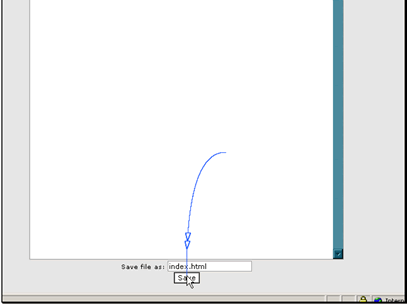
Your changes have now been saved. Now this index.html file be be copied to the public_html folder of every account you create.
