Text Version
In this tutorial we will be adding a new account.
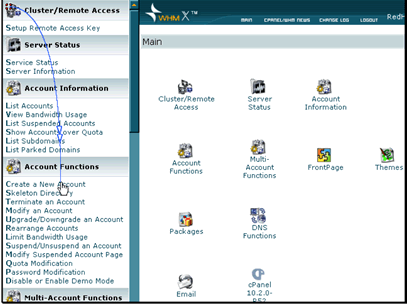
Click Create a New Account under the Account Functions heading
Enter the Domain and Password for the new account. A username will automatically be generated for you.

Select the package that you would like to use for this account.
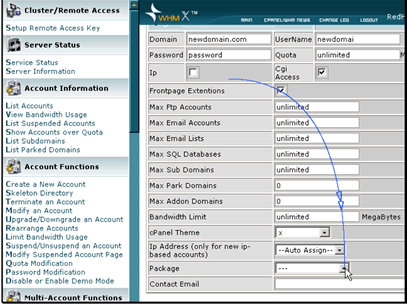
Then enter the email address for the contact for the account.

Click Create.

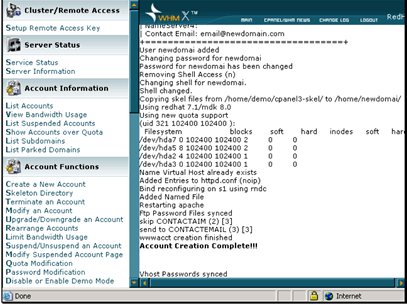
The account is successfully created after you see the Vhost Passwords synced text.
Next we will suspend an account.
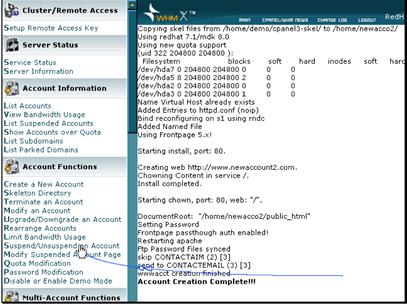
Click Suspend/Unsuspend an Account.
If you have chosen to use EPESI for your CRM application, you can count on BUYHTTP
Select the account you want to suspend and click Suspend. If you would like you can also add a reason.
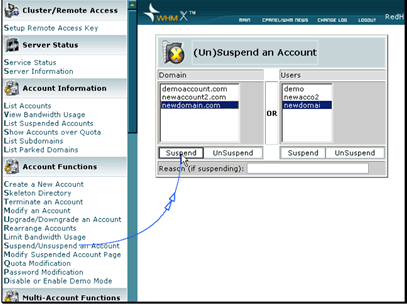
The account is now suspended. Let's upgrade an account now.
Click Upgrade/Downgrade an Account

Select the account you want to change and click Modify.

This screen will show the package they currently have. Select the package you would like to change them to and click Change.
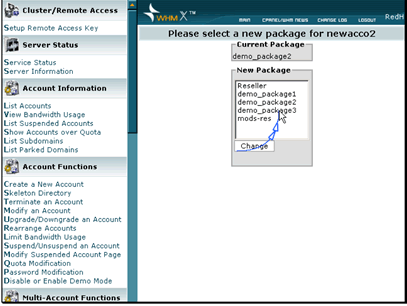
This screen will let you know that the change was successful. Now let's terminate an account.
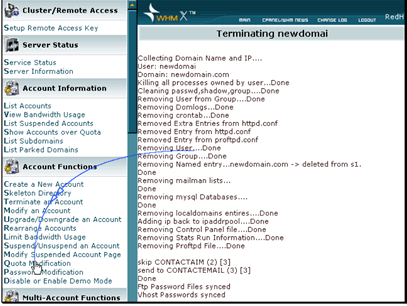
Click Terminate an Account

Select the account to terminate and click Terminate.

This screen will let you know the termination was successful. Let's manually change the amount of disk space a single user has.
Click Quota Modification
Enter the new amount for the account and click Change.
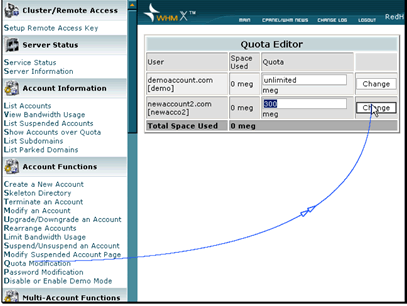
This screen will let you know the change was made. That concludes our overview of account management.

